
Bosses
Everblue Dungeons Ice Cube Guide: Act I Strategy
Last updated:
Ice Cube combines crossing beams, marked ice pillars and pursuing minions. Prepare an elemental advantage, then keep enough room to escape ground attacks while dealing damage between hazards.
Enter Start Game → Boss Mode → Ice Cube → Act I at Level 15 or higher. Act I recommends 54,000 power and gives Flame or Light a 1.30× multiplier. Leave red-line beam paths and snowflake circles, keep moving away from pursuing ice minions, and attack during openings. Ice pillars can reach the outer edge, so retreating to the wall alone will not protect you. After winning, open the chests before the collection timer ends.
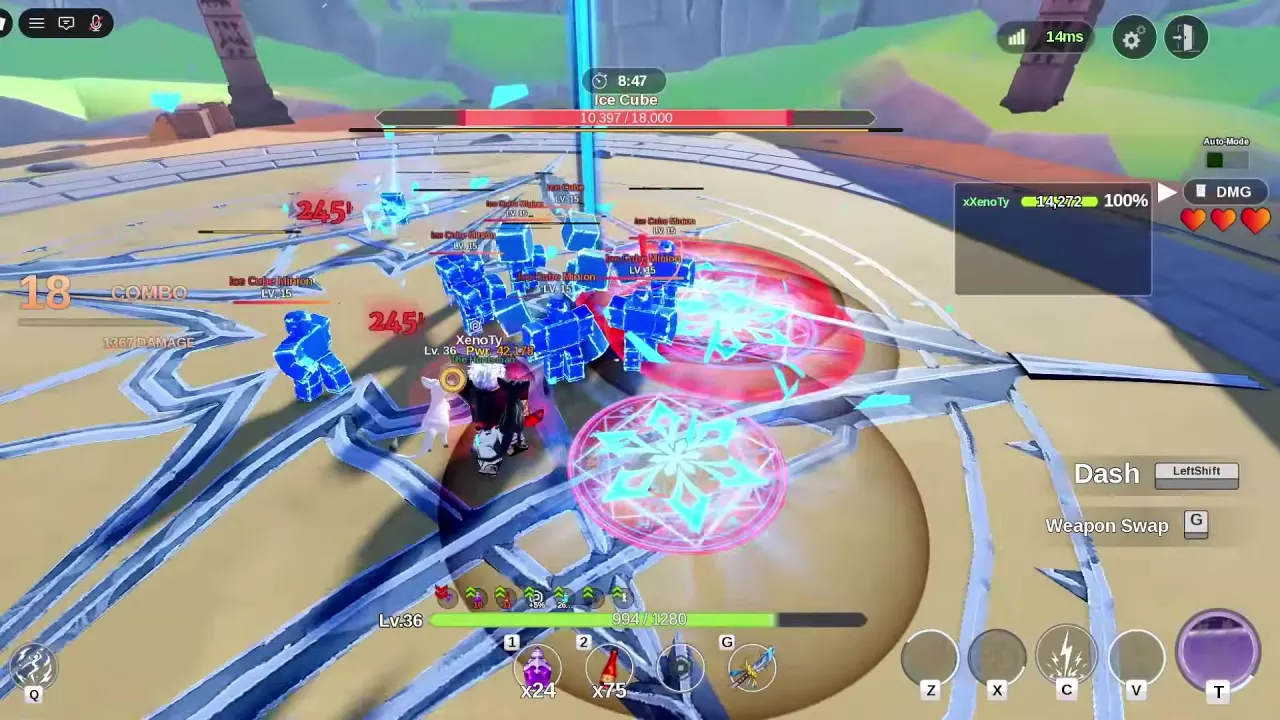
Enter Ice Cube and Prepare Your Loadout
- Reach Level 15, then open Start Game in the lobby.
- Select Boss Mode → Ice Cube → Act I. Its recommended power is 54,000; the entry requirement is Level 15.
- Choose a Flame or Light weapon for the 1.30× elemental multiplier. Bring weapons with skills you can already use, so both weapons contribute when you switch.
- Equip a health potion in a potion slot before entering. A Greater Health Potion restores 15% of maximum HP and costs 1,500 Gold at Kaela's shop.
Ice Cube's maximum HP differs across encounters: Level 15 fights include an 18,000-HP boss, while a separate encounter using a fully leveled Secret scythe has 45,000 HP.
See elemental matchups for other Cube weaknesses, or potion and hotbar setup for buying and equipping consumables.
Leave Crossing Beams and Snowflake Circles
Watch the floor while attacking and while retreating. The warning marks tell you which areas to leave.
| Warning or hazard | What to do |
|---|---|
| Thin red lines across the arena | Leave their paths before they become bright blue crossing beams. Move into the spaces between them. |
| Dark circles with red or pink borders and snowflake markings | Move outside the marked area before ice pillars rise. |
| New marks beneath your character or near the outer ring | Reposition again; the edge can also be targeted. |
Choose your next position by checking both the ground marks and nearby enemies. A clear patch of floor gives you an opening to attack, but keep watching for the next warning.
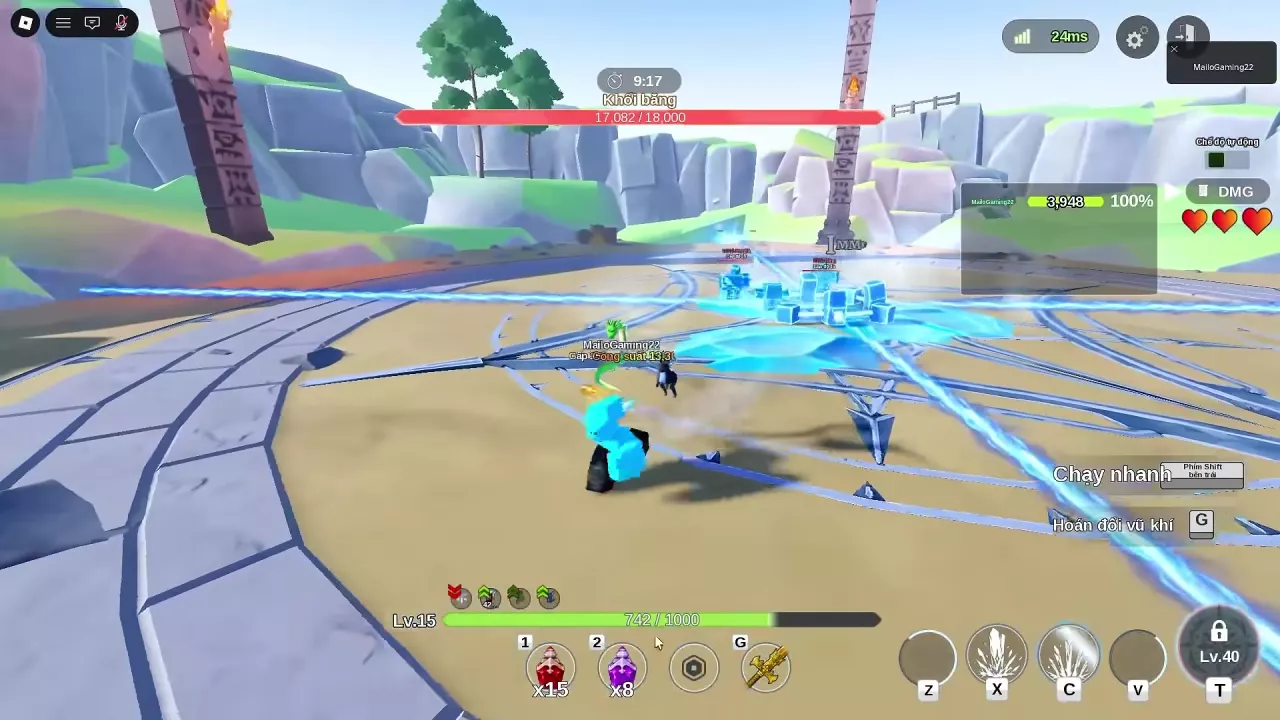
Keep Space from Minions and Attack During Openings
Ice Cube Minions are blue humanoids made of ice blocks. They appear in groups and follow you to the outer ring, where they can surround you while the boss attacks.
- Keep space between yourself and the pursuing group. Reposition before enemies close off your escape route.
- Attack during clear openings, then back away when new hazards appear.
- Press G to switch weapons and use the other weapon's available skills.
- Use LeftShift to dash away from danger toward clear ground.
After using a health potion, continue escaping the hazards. Healing does not prevent a later freeze: you can recover HP and still be caught by the next ice attack with minions nearby. Favor creating room to move over forcing another attack while surrounded.
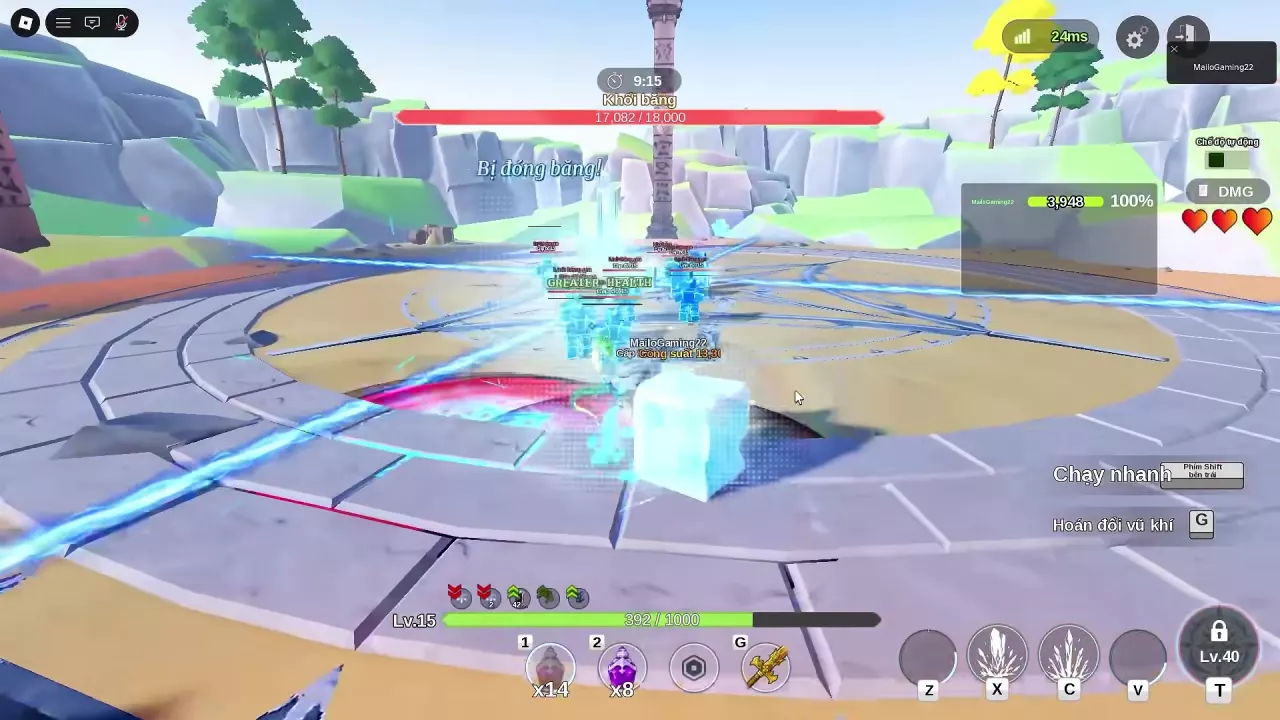
Revive with Remaining Hearts and Collect Drops
In the three-heart Ice Cube setup, one death consumes a heart. Wait through the automatic revival countdown, then resume fighting at full HP with two lit hearts. The boss keeps the damage already dealt.
After defeating Ice Cube, open the chests during the timed collection phase.
If you want Princess Belt, farming Ice Cube offers both a possible direct drop and Blue Crystals for its crafting route. Decide what to reserve before spending your crystals, since weapon enhancement and Epic artifact fusion use them too. See the material sources and uses for broader resource planning.
Defeating Ice Cube once in Boss battles also fulfills its objective in The Black Swordsman's Legacy, Guts's quest. Follow the Guts quest guide for the remaining objectives and reward claims.
-
Blue Crystal
- Acquisition
- Ice Cube (Boss drop)
- Uses
- Weapon enhancement, Epic artifact fusion, and Princess Belt crafting
-
Princess Belt
- Acquisition
- Ice Cube drop or crafting with Blue Crystals